
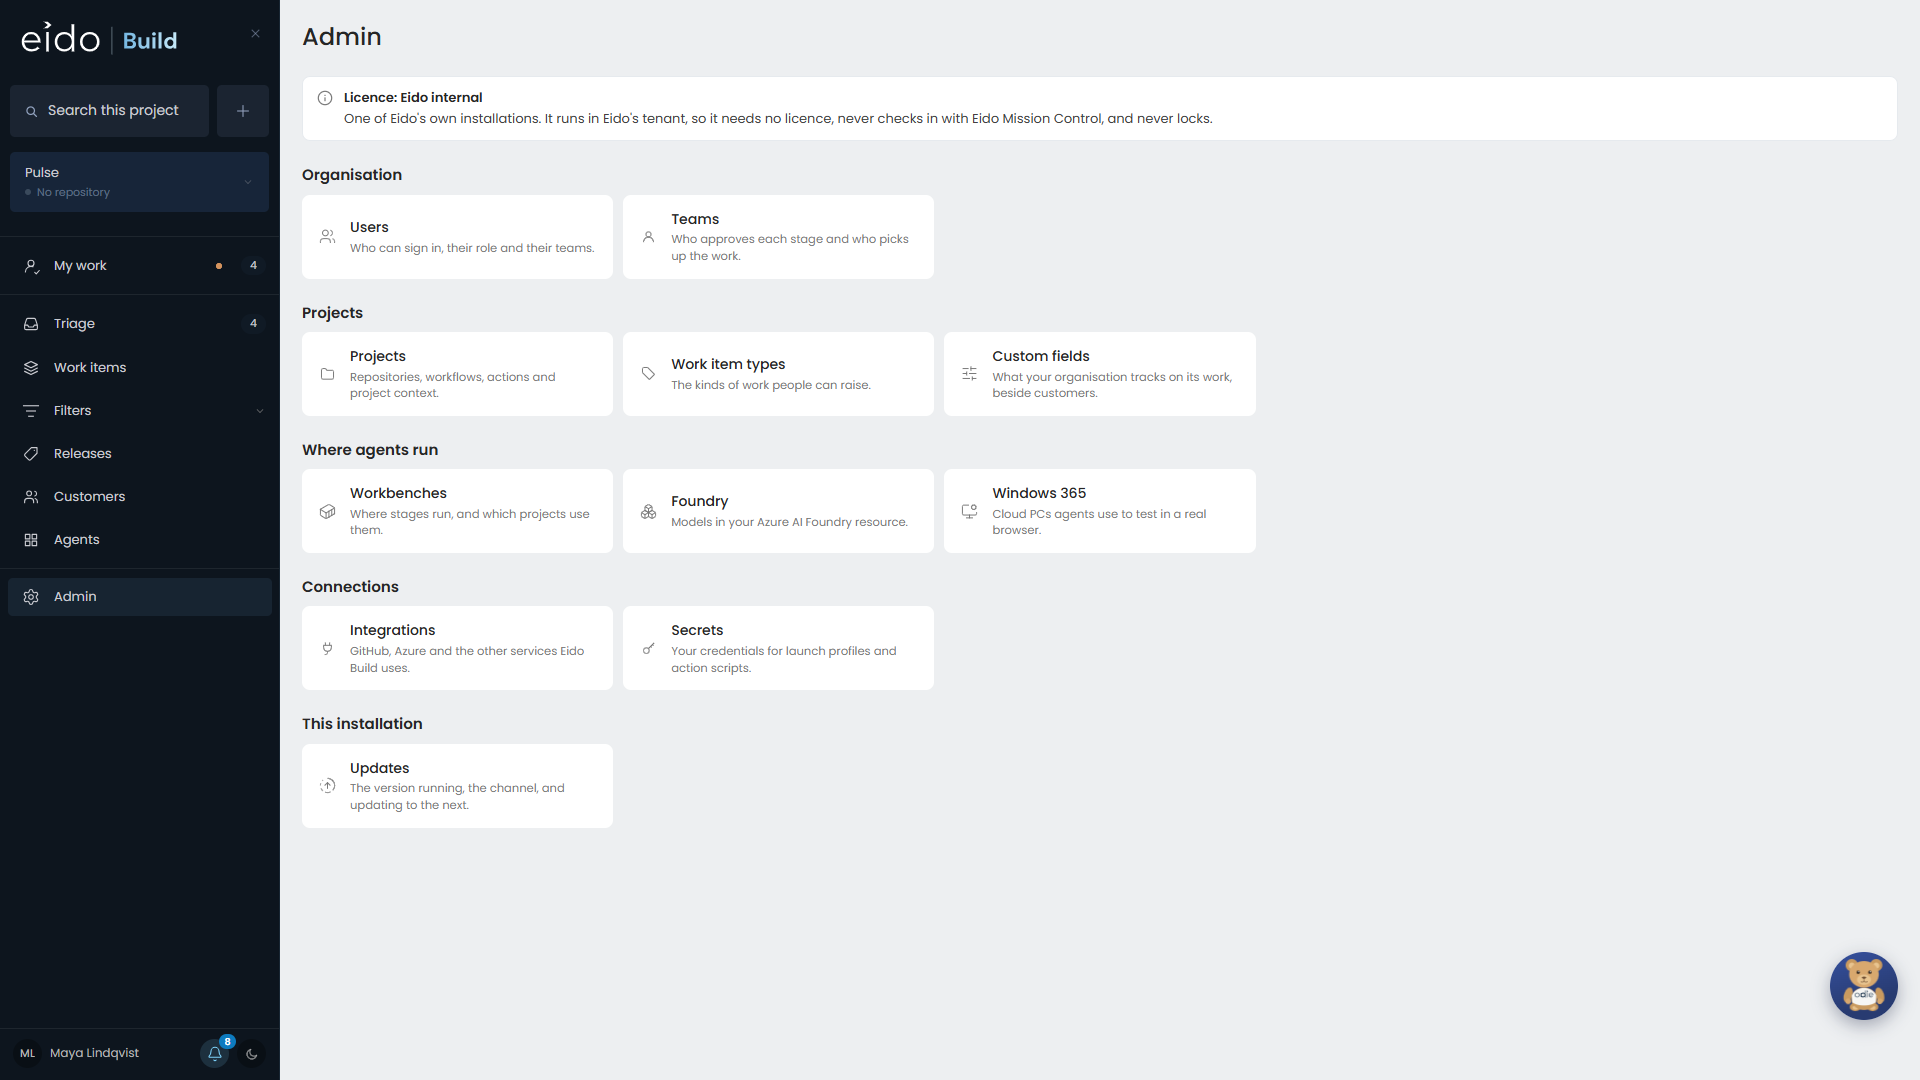
A new Eido Build starts with one admin, which is whoever installed it, and nothing connected. Work through these in order.
-
Connect your repository host
In Admin → Integrations, connect GitHub or Azure DevOps.
- GitHub is a GitHub App that your organisation owns.
- Azure DevOps uses a managed identity.
-
Decide where agents run
In Admin → Workbenches, check the workbench your projects will use.
- For a Foundry workbench, deploy the models you want in Foundry.
- For an Anthropic workbench, paste an Anthropic API key in Admin → Integrations.
Set a monthly budget while you are there. See Costs and budgets.
-
Set up your project
In Admin → Projects, point the project at its repository and choose how it ships. Write the project’s description, because every agent reads it. See Projects.
-
Add your people
In Admin → Teams, set up your teams. In Admin → Users, add each person, give them their projects and put them in their teams. See Users and permissions.
-
Check the workflows
A new project has the stock workflows. Open them in Admin → Projects → Workflows and check which teams take part in and approve each stage. See Workflows.
-
Run something small
Raise a small, real enhancement, approve it in Triage, and follow it through. See Your first work item.
Worth doing in the first week#
| Set up email | So that people are told when they are assigned something. See Email. |
| Write project actions | A sign-in action and a seed-data action save every tester time on every work item. See Project actions. |
| Add an agent | Start with one from the catalogue, such as the Dependency Warden. See Setting up agents. |
| Choose how work starts | If opening a release would start more agent sessions than you want at once, set the project to start work manually. See Projects. |
| Add your customers | So that requests can be weighed at triage. See Customers. |
Coming from another tracker#
Set the project’s next work item number above the highest number your old tracker used, so existing keys keep meaning what they meant.
If production is already on a version, set the project’s last released version, so Eido Build’s first release counts on from there.
Check the licence panel#
The top of Admin shows what this installation is licensed as, and when it last checked in. If it warns that it has not checked in, see Licensing.